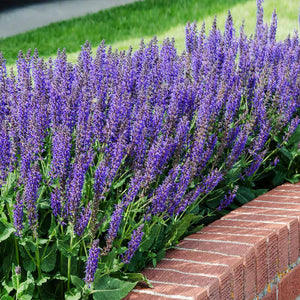
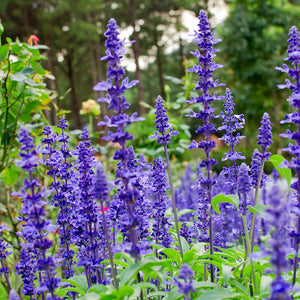
May Night Salvia
Product Details
 Growing Zones 4-9
| Soil Type | Well Drained |
| Sunlight | Full |
| Drought Tolerance | Good |
| Mature Height | 1-2 Feet |
| Mature Width | 1-2 Feet |
| Growth Rate | Fast |
| Bloom Color | Purple |
| Shipping Restriction | AZ |
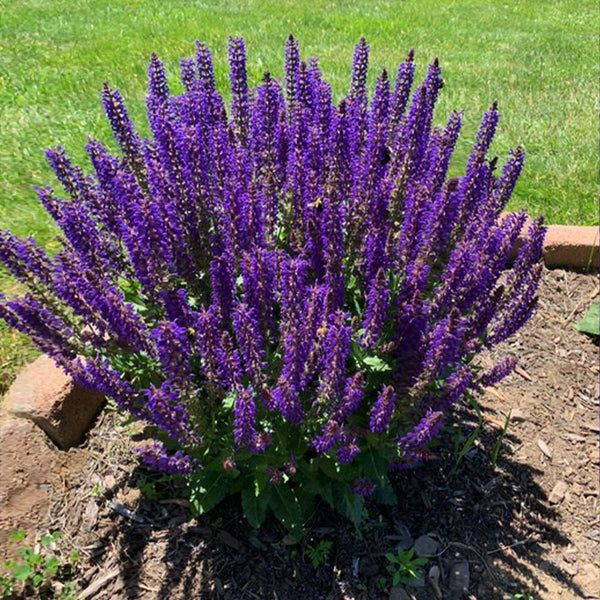
This adaptable perennial is the perfect low-maintenance addition to any planting space. The May Night Salvia produces indigo blooms and is extremely tolerant to drought and pests, so you can sit back and enjoy its summer-long glory.
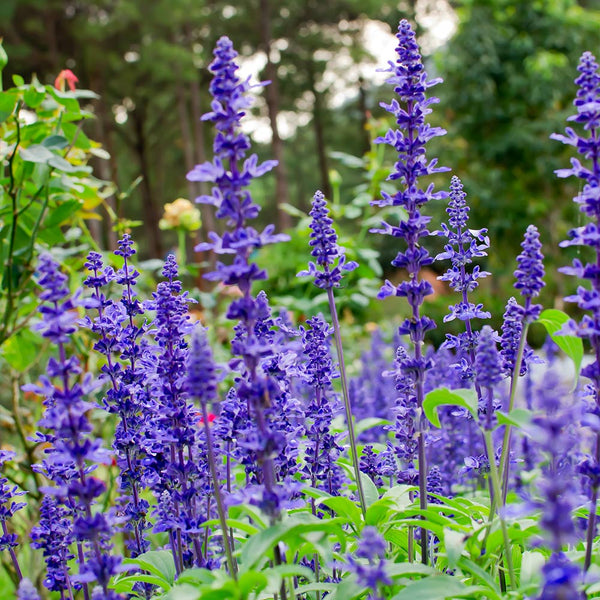
Rich green foliage grows in a mounding growth habit that creates the perfect foundation for the May Night Salvia’s tall, thin blooms. These floral spikes shoot up from the mounded foliage with vibrant blue-purple flowers. Plus, the indigo flower clusters are sweetly fragrant and attract hummingbirds and butterflies to enchant your space.
The May Night Salvia adapts to the climate conditions where it’s planted, bringing you the most vibrant foliage and blooms during the growing season. Whether you’re planting in landscape borders, containers, flower beds, or along a fence line, the May Night Salvia brings wispy, effortless beauty.
The perfect addition to cottage styles, rock gardens, or accent containers, the May Night Salvia delivers low maintenance once it’s established. Both drought resistant and pest resistant, you won’t be wasting any time with this plant. Plus, without the need to spray for pests, the May Night Salvia may actually save you money.
The May Night Salvia won’t stay in stock for long. Order yours today!
Do I have to spray for pests?
No. The May Night Salvia is pest resistant and does not require pest spray.
When does the May Night Salvia Bloom?
This plant starts blooming in May and will continue to bloom all summer with proper deadheading.
What does the May Night Salvia Smell like?
The fragrance of the May Night Salvia is super sweet, and fruity.
Planting
Plant your May Night Salvia in a sunny location (6-8 hours per day) with well-draining soil. Dig a hole that is twice the size of the root ball and the same depth. Remove the shipped container and place the plant in the hole. Backfill the dirt, being careful not to compact the soil.
Watering
Water immediately after planting and water reguly during the first growing season until the plant is established. Once established, you may let the soil dry out 3 inches down between waterings.

